Appointment Campaigns
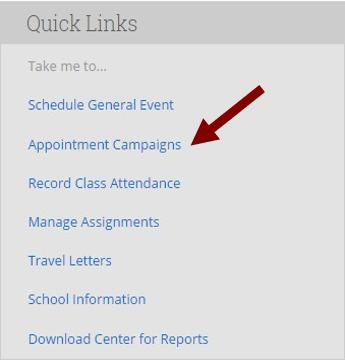
Bulldog Navigate Appointment Campaigns enable the advisor to request that specific students select a specific date and time in which to schedule an appointment instead of the advisor creating appointments for each and every student. This feature is commonly used when an advisor must meet with all of their students at least once per term. To begin, clickon Appointment Campaigns under quick links and follow the setup steps.
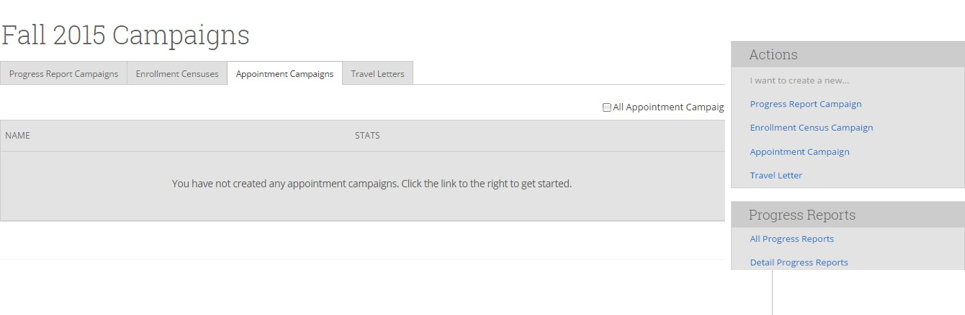
The click on Appointment Campaign under Actions on the left hand side and follow the steps below.
- Step 1
Step 1: Define the Campaign – Bulldog Navigate Campaigns enable the advisor to request that specific students select a specific date and time in which to schedule an appointment instead of the advisor creating appointments for each and every student. This feature is commonly used when an advisor must meet with all of their students at least once per term. To begin, click on Appointment Campaigns under Options > Create a New Campaign and follow the setup steps.
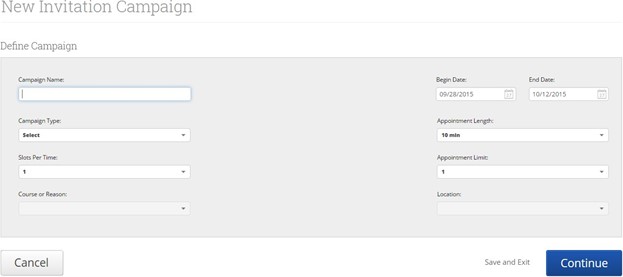
- Enter the Name of Campaign-The name of the campaign only appears to the advisor. This needs to be a name that makes sense to you.
- Email Subject- The topic will be the subject of the email going to the student.
- Special Instructions to Student - This will be your message to the student.
- Choose the advisor(s) for the Appointment Campaign - will let you select multiple advisors if desired.
- Choose the Start and End Date- This will be the date range for which you want the students to make their appointments.
- Length of the Appointment- This is where you define exactly how long the appointment will be. Durations include 10, 15, 30, 45 and 60 minute intervals.
- Appointments Limit- This will determine how many appointments you wish for the student to schedule.
- Location- Select the location of where the appointment(s) will be held.
- Step 2
Step 2: Select Recipients of Campaign- Once the Campaign Details are created and the selections are defined, the next step is adding recipients. Click Continue to select Students to Invite. Here you can use the tabs to search for recipients in several ways.
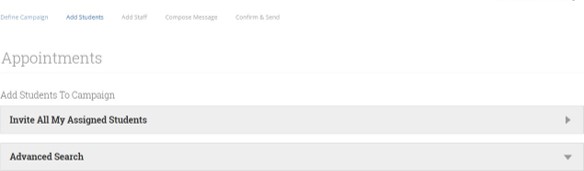
You have several ways to search for and select your students.
Invite All My Assigned Students: Provides users with students that are assigned to me.
Advanced Search: Provides users with advanced search filters to find, and select, students. When you select students from a tab, click Continue to move to the next page. Next you can review what the email message will say and look like.
Back to Top - Step 3
Step 3: Add Advisors to Campaign- You will need to select yourself as the advisor for the campaign. You may also have the option to select additional advisors to make them available for appointments based on the campaign. Advisors will need to have availability defined before they can be added to an appointment campaign.
Note: If Advisor’s do not set up Campaign Availabilities you can check the box to Include Appointment Availabilities to show available times for advisors.
Back to Top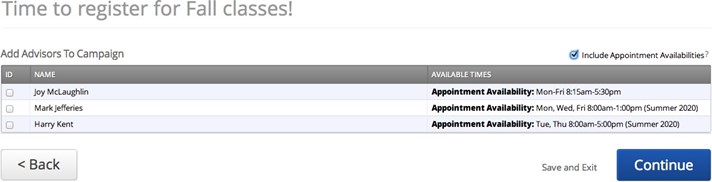
- Step 4
Step 4: Compose your Message- Compose the message that you will send to students in the invitation to schedule a tutoring appointment through the campaign.
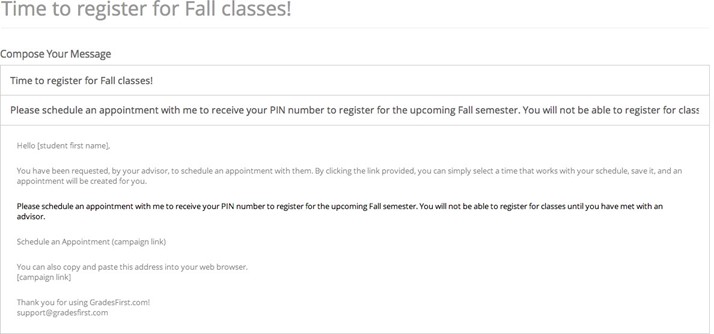
Email Subject: The topic will be the subject of the email going to the student.
Instructions or Notes: This will be your message to the student.
Note: This screen will also give you a preview of what the invite will look like.
Back to Top - Step 5
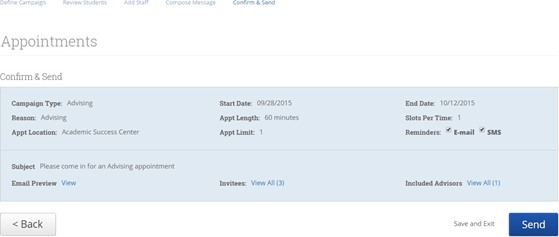
Step 5: Confirm - Please make sure that you review your selected options before you start the campaign. Click Send when you are ready to email the invites to the selected students.
Back to Top - Step 6
Step 6: Review and Send - Review the campaign details one more time and then click Send.
Back to Top